
Beautiful API Documentation with Slate & Host it on Netlify
“APIs can be among a company’s greatest asset, but it can also be among the company’s greatest liabilities” — Joshua Bloch
Having a well-designed API is not enough. It should be documented well enough to be effectively used by other developers to build interesting and innovative solutions around it.
I am not going to go deeper into what are the best practices for the API documentation. Instead, I will go straight to the solution used by NASA, SONY, Best Buy, and many more awesome APIs! They all are built with Slate.
Slate helps you create beautiful, intelligent, responsive API documentation. It is feature rich interactive documentation solution. There is a comprehensive list of things you can do with Slate and customize it as per your need. Check out the wiki.
I assume you know how to document your API using markdown and middlemen backed by Github. The following steps would help you to make your documented API public using amazing Netlify for free!
1. Prerequisite
Slate is powered by middlemen which are static site generator built on Ruby. Checkout system requirements here.
2. Local Setup
First fork Slate repository and clone it locally. Then go to the home directory of the forked repo in command line do bundle install to install required gems. Start middlemen server by running a bundle exec middleman server from the command line.
This will by default start web server backed by middleman at http://localhost:4567. Hit the URL in your browser and voila beautiful documentation pages appear.
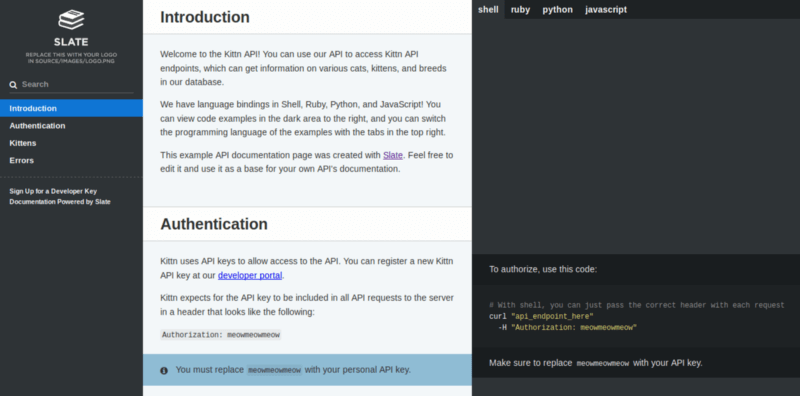
Checkout source file here for reference to compare with generated document pages. You need to modify as per your API need and refresh the page to see it. Simple!
3. Host API documents on Netlify
JAMStack has become very popular, and Netlify is unparalleled popular among developers.
Netlify is everything you need to build fast, modern websites: continuous deployment, serverless functions, and so much more
Read Also: Integrating Google Cloud Vision API with Ruby for Image Object Detection
Step 1: Sign In / Sign Up
I would recommend to sign up with Github so that you can quickly access your document repository to be hosted. The rest of this article assumes you will be using Github.
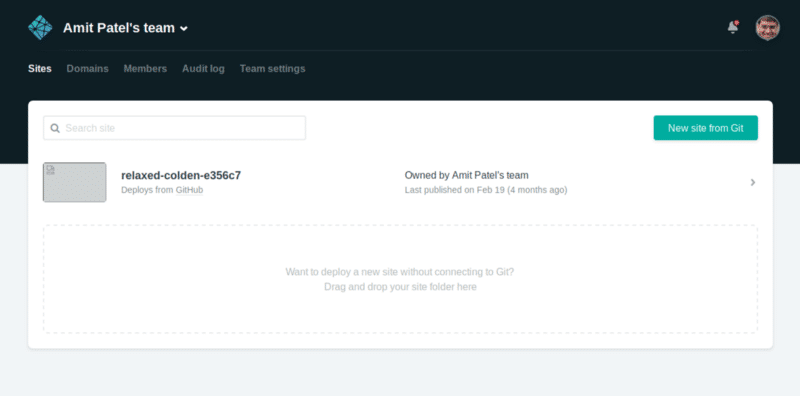
Select the sites to tab on Netflify Dashboard
Step 2: Click on “New Site From Git” button
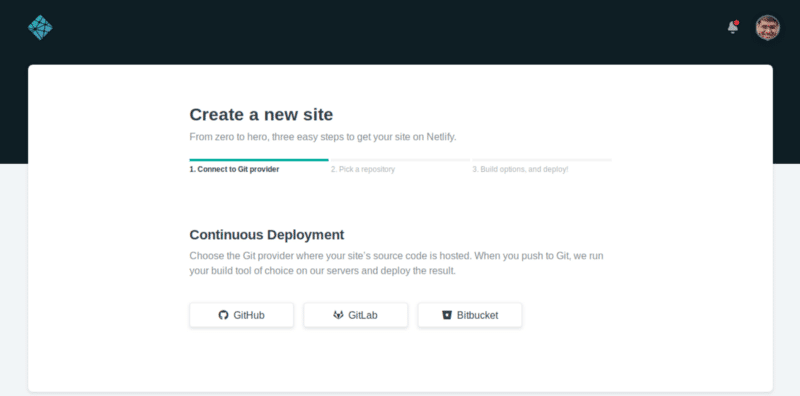
Connect to Git Provider Wizard
Click on the “Github” button from the “Continuous Deployment” section.
Step 3: Search and Select your API documentation Slate repository
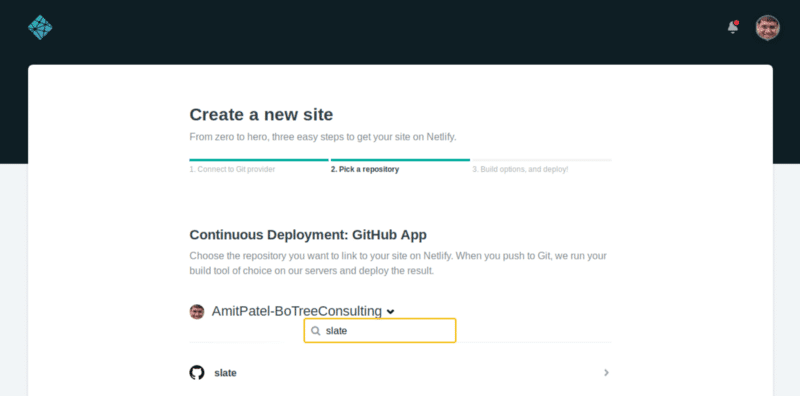
Pick forked Slate Repository
Step 4: Specify Build Settings
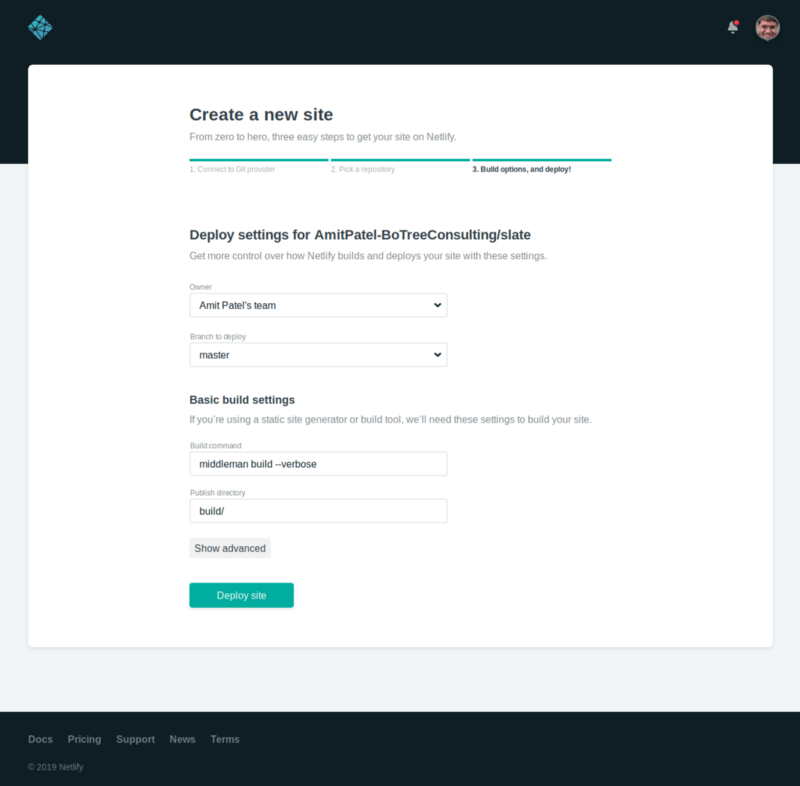
Select the desired branch, mention middleman build command and build directory (where static pages generated by middleman) and press the “Deploy site” button and voila!! Your site started deploying.
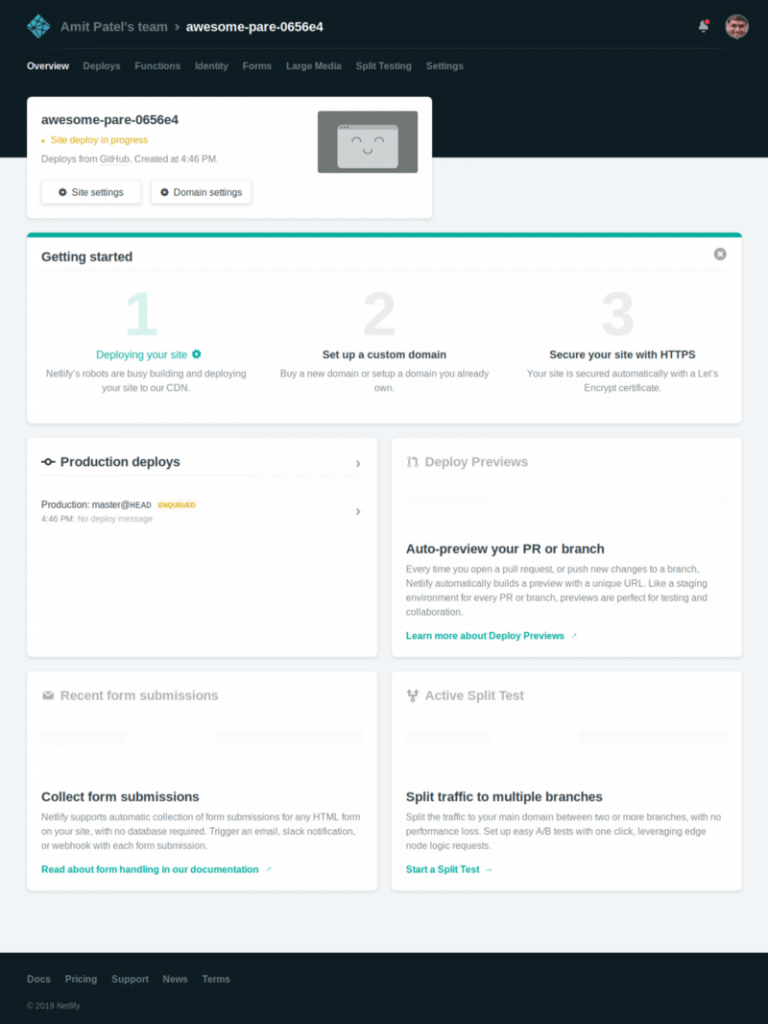
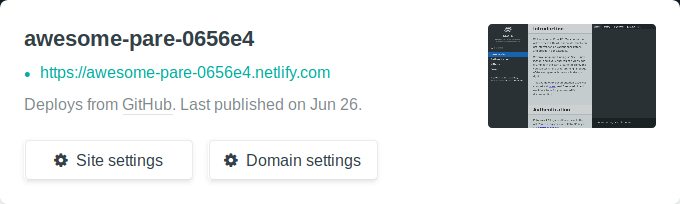
Wait for a couple of minutes to finish and you then you will see your site URL
And that’s it.
If you need to change anything in the document, push it to the branch which is deployed on Netlify, and it will be updated automatically!! Amazing!!
At BoTree Technologies, we build enterprise applications with our RoR team of 25+ engineers.
We also specialize in RPA, AI, Python, Django, JavaScript and ReactJS.


