Setup a virtual server for a Ruby on Rails application using DigitalOcean
What is DigitalOcean?
DigitalOcean is a cloud infrastructure provider which provides a separate and secure environment/space for deploying and running your applications. DigitalOcean provides private virtual machine (VM) instance, which calls a “droplet.” You can set up your application within the Droplet.
DigitalOcean initial server setup enables you to create the perfect environment for deploying your applications. Any Ruby on Rails developer with enough experience can install DigitalOcean and start deployment using a droplet. As it is a cloud deployment platform, one might think that it is complex and takes up massive resources.
However, the setup is very easy will take a few minutes to create a new Droplet. Through this tutorial, we will help you to create and access the new virtual server.
Sign In to DigitalOcean
After sign into DigitalOcean control panel, click on “Create Droplet” button in the upper right corner of the Droplets page.
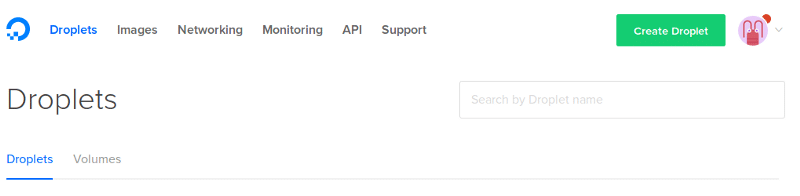
By clicking on the “Create Droplet” button, it shows page to set up an application using one-click by default.
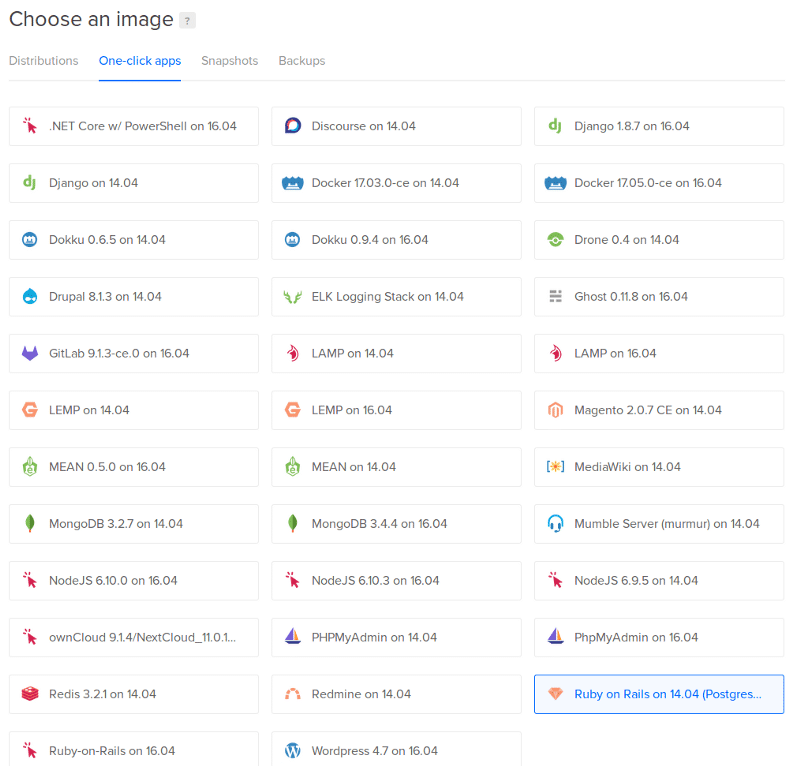
Choose the Package
From this interface, you can select the specific package as per your need for the DigitalOcean app platform setup. The selected package will automatically install the system. Here, I have selected Ruby on Rails, PostgreSQL and Nginx, and Unicorn.
Choose a Size
After selecting a package, click on “Distributions” tab. Depending on your needs and budget, you can select the size which is best for your application.

In future, if you want to extend your droplet size or upgrade the plan as per your needs, you can extend the droplet size by using “Resize” option. That I have explained in the last point of this tutorial. Let’s move on to the next step.
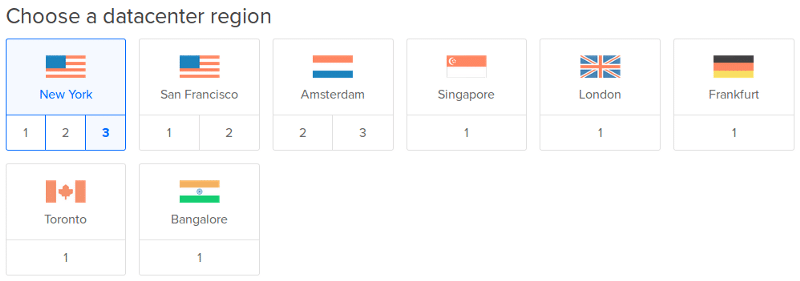
Choose a Region
You may choose the most effective region for your Droplet location. Although equally powerful, the best region to choose is the one nearest to you and your customers or other possible users. Selecting a more distant server location may increase your server latency without serving any practical purpose. You can ask for suggestions from a Ruby on Rails development company on which is the best region to choose a server.
Select additional options (Optional)
The Select additional options section allows you to select which features you would like your Droplet to have. If you want a private network, then you must do DigitalOcean VPN server setup.

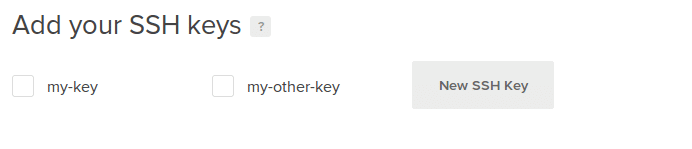
Select SSH Keys
Add your public SSH keys to connect with the server using SSH command. You can add multiple SSH keys for the same droplet.
Finalize and create
No need to change anything. You can change your hostname under “Choose a hostname“.
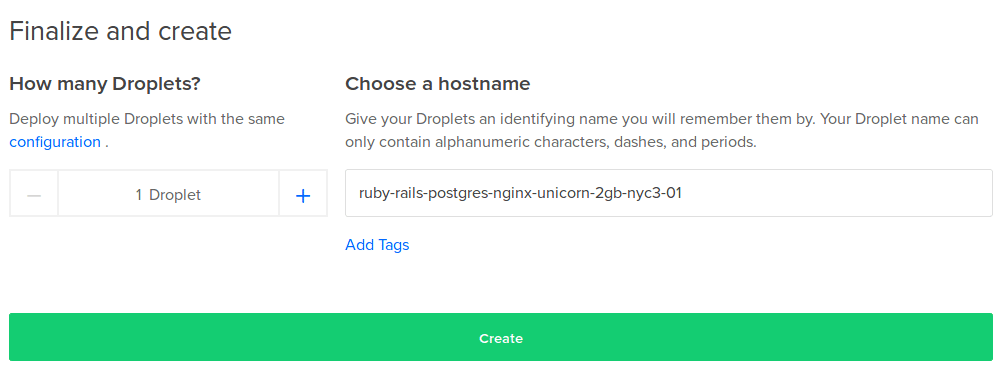
Press the “Create” button and wait for few minutes to create and setup your selected packages.
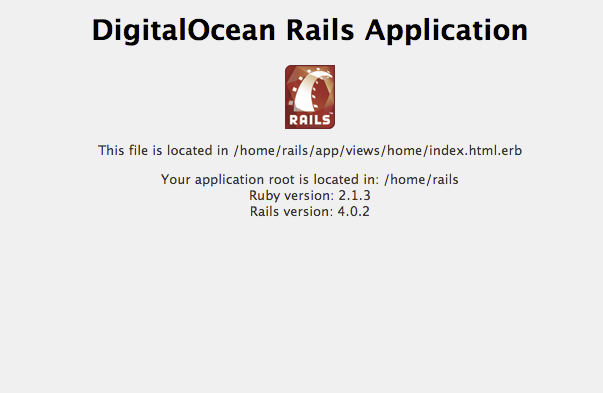
Check the Application
To check the sample Rails application is running, visit your Droplet’s public IP address in a web browser.
For e.g. Suppose your IP address is 123.123.123.123. In this case, you would open http://123.123.123.123 in a web browser to verify that Rails is running:
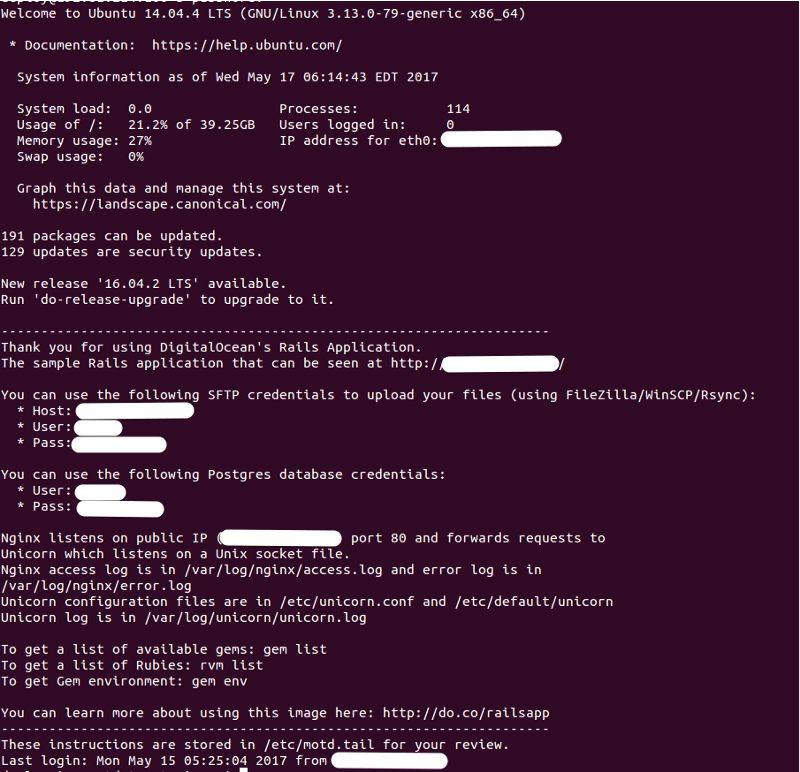
Access the Droplet via SSH
To deploy your own Rails application, you will need to connect to your Droplet as root via SSH. On your local machine, open a terminal and log in to your Droplet as the root user using the below command.
$ cd .ssh/
$ ssh root@123.123.123.123 (YOUR_DROPLET_IP)
If you are prompted for a password, type in the password that was emailed to you when the server was created.
Alternately, if you set up the droplet with SSH keys, you can go ahead and log in without the need for a password.
The authenticity of host ‘123.123.123.123 (123.123.123.123)’ can’t be established.
ECDSA key fingerprint is 7q:82:a8:a3:6b:xx:xx:xx:xx:xx:xx:xx:xx:yy:zz:zz.
Are you sure you want to continue connecting (yes/no)? yes
Warning: Permanently added ‘123.123.123.123’ (ECDSA) to the list of known hosts.
You are in!! Your new Droplet is ready to deploy.
How to resize the Droplet?
Resizing your servers can be an effective way of increasing their capacity, by allowing them to utilize more memory (RAM), CPU, and disk storage.
Here are the simple steps to resize your droplet.
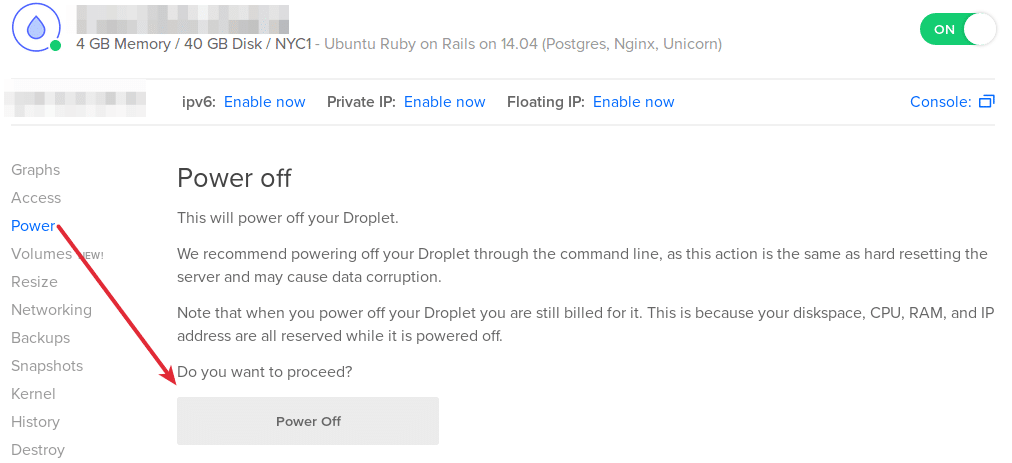
- Power Off: Before start, the resizing, shut down your droplet using the command line or from the browser.
In the browser, go to the specific droplet and click on “Power” link from the left side menu and then click on “Power Off” button.
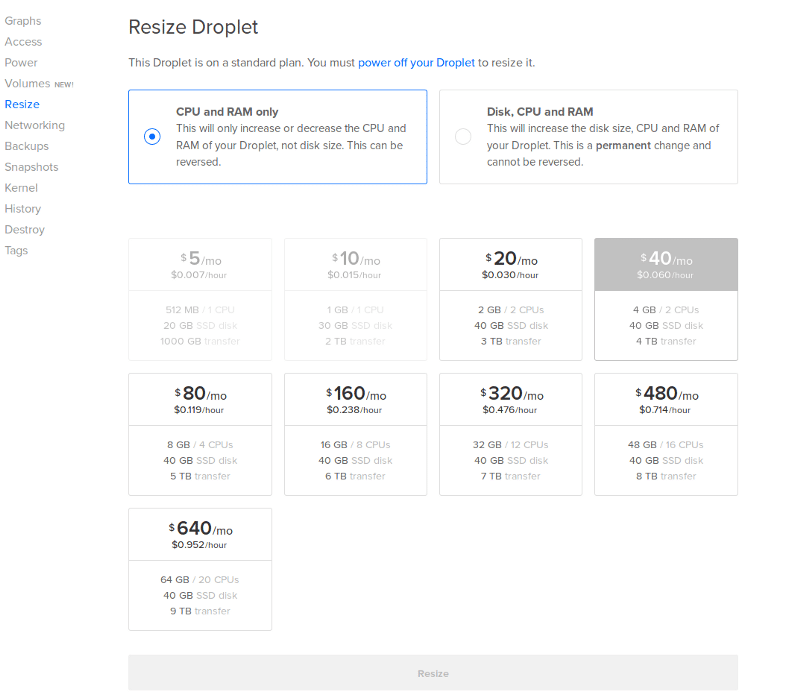
- Resize: On the same page, click on the “Resize” link, select the plan and press the “Resize” button. This will take a few minutes to upgrade your selected plan.
- Power On: After upgrading the plan, go to Power page and press the “Power On” button.
Conclusion
DigitalOcean app platform is a highly powerful, scalable, and reliable platform for deploying web applications built with Ruby on Rails. It provides the perfect environment needed for faster deployment and continuous improvement. DigitalOcean initial server setup is quick and enables you to make the application faster through rapid processing of data.
At BoTree we help individuals, startups and businesses build their ideas from Canvas to Cloud. Our team of Ruby on Rails developers uses DigitalOcean to deploy dynamic web apps. We fix bugs for free, forever. We can help you with Support and Maintenance of existing applications not developed by us. We also provide 24 x 7 support to all our clients.
Drop us a line. Talk to us.

