
Securely Handle Webook Events in Ruby on Rails App using Stripe
Stripe is one of the most popular payment solutions and we use it at a large scale in many of Ruby on Rails applications we built to process payments. All such applications need to receive notifications about some important events from Stripe to perform some actions in workflows.
Stripe can send webhook events to notify the registered application about different events as they happen on exposed endpoints with HTTP POST requests. Because the endpoints(routes) are public, anybody can call it for malicious purposes. So it is really crucial to protect from harmful users.
Stripe webhook event sends Stripe-Signature header which can be used to verify authenticity to ensure request is coming from Stripe and not from a third party.
The easiest way to do is by using ‘stripe_events’ gem.
Let’s start with the implementation of Stripe webhooks. This is going to be very interesting.
1. Installing Gem (Gemfile)
Add below Stripe gem to your gem file.
gem 'stripe_event'
2. Adding Routes (routes.rb)
mount StripeEvent::Engine, at: '/any-path-you-want'
To make it cleaner we use the following path
mount StripeEvent::Engine, at: '/stripe/webhook' # you can change this url
3) Testing In The Development Environment
First of all for testing webhook locally we need to start the server on the ngrok as we all know it will create Publicly accessible URLs.
Suppose my ngrok Rails URL is https://9123ab3f.ngrok.io/
then we need to add the endpoint for the webhook in a Stripe like https://9123ab3f.ngrok.io/stripe/webhook
Now start setup for the Stripe Webhook.
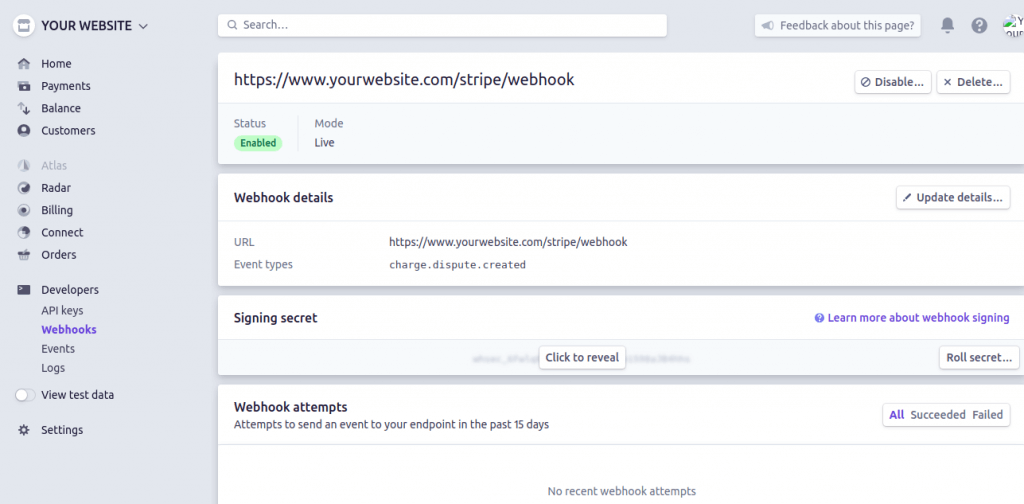
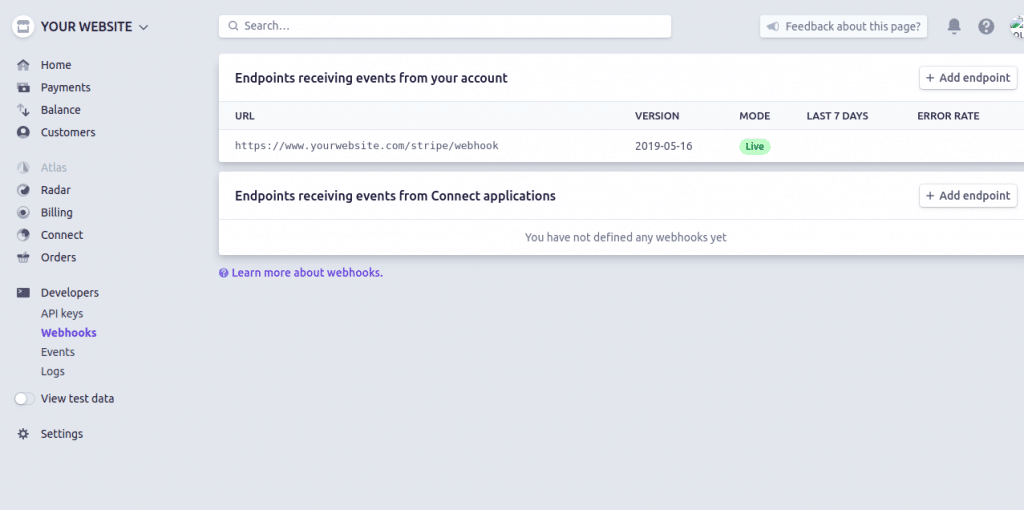
- Login to stripe account and go to the stripe dashboard.
- Navigate to Developers > Webhooks (ref).
- Switch your account to test mode.
- Add your EndPoint to Stripe webhook with the respective event which you want (e.g., creating charges or refunds or etc)
- The EndPoint is your ngrok URL(e.g https://9123ab3f.ngrok.io/stripe/webhook)
For the LIVE mode, you need to add your website URL host in EndPoint.
Read more: Best Ruby on Rails projects Examples
Once the webhook gets created, note the signing secret key for that webhook as we will need to add it to the code in the future.
4) Adding Credentials (config/initializers/stripe.rb)
In this we have configured one stripe event which is ‘charge.dispute.created’ & Stripe::EventHandler is one service which we created to handle the after effect when webhook called.
When any charge gets created for stripe payment it will call the Stripe::EventHandler class.
You can also define the multiple events in StripeEvent.configure block.
Read More: Handling BigCommerce Webhooks in Ruby on Rails application
For handling all events of the charge like
- Charge Created
- Charge Updated
- Charge Closed
- Charge Funds Reinstated
- Charge Funds Withdrawn
Just use ‘charge.dispute.’
events.subscribe ‘charge.dispute.’, Stripe::EventHandler.new
This will tell instruct stripe when any ‘charge.dispute.’ event gets fired just redirect to an endpoint and call Stripe::EventHandler class.
5) Service for handling webhook request
Create one service says event_handler.rb under the services/stripe folder (app/services/stripe/event_handler.rb).
You can also define service based on the stripe events that way you can use the inheritance concept and make your code simple.
Suppose we have to handle two Stripe events
- Charge dispute
- Charge refund
You can define service like below and you can separate code.
Main service(EventHandler) which handles the request.
This service will handle the charge dispute events accordingly request.
This service will handle the charge refund events accordingly request.
Interesting right! We would highly encourage you to consider securing your Stripe webhooks. Stripe webhooks with a Ruby on Rails application development company.
Thanks for reading!
Consulting is free – let us help you grow!


