How to Create Events in Google Calendar using Ruby on Rails?
In many cases, we need to create events in a calendar app from web applications. For example, create an appointment with Doctors or schedule service with plumbers.
Google Calendar is the most used app for scheduling and it’s very popular among business people. We are building an app that needs to create an appointment with therapists’ google calendar.
Let’s see how it is easy to integrate the Google Calendar in a Rails application using omniauth-google-oauth2 and google-api-client gems with Google OAuth 2.0 mechanism.
Prerequisites
- Ruby 2.x
- Rails 4.x +
- Google Account
We will need the Google client_id and client_secret to securely authenticate all the API requests from our app to Google Calendar. Let’s create one for the demo.
Setup Google API Project
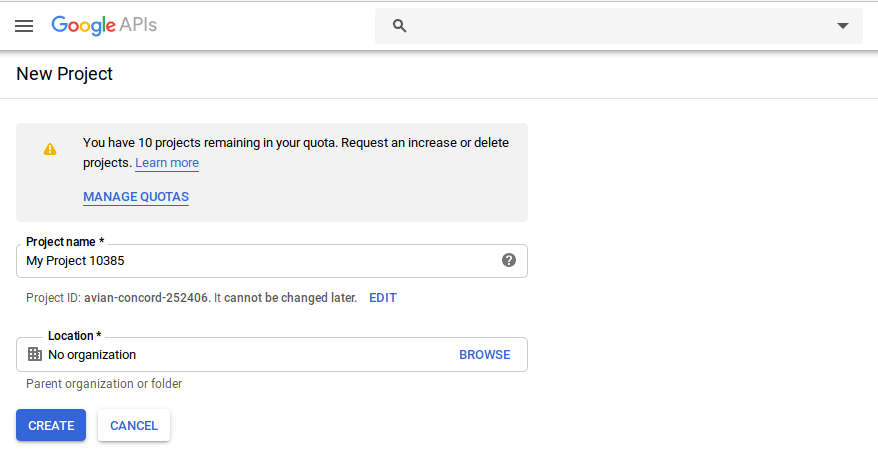
Step 1 – Create a new Project
- Sign in to Google API console.
- Click on Create a new project and enter a name for the project
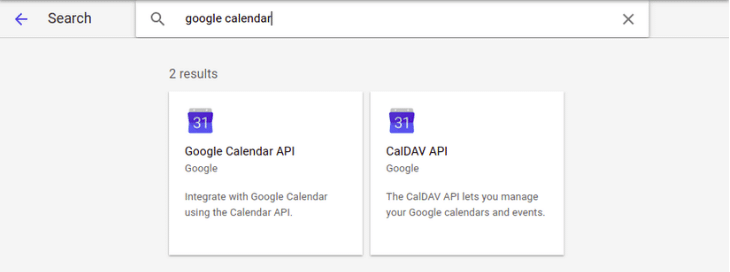
- Search for the Google Calendar API on the Library page and then click the
ENABLEbutton on the API view.
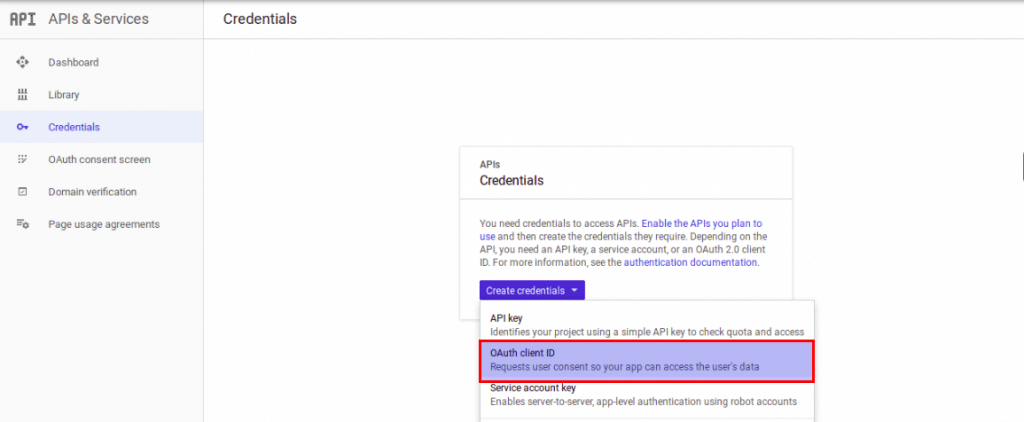
Step 2 – Create client credentials (client_id and client_secreet)
Now, create `client_id` and `client_secret` for your application.
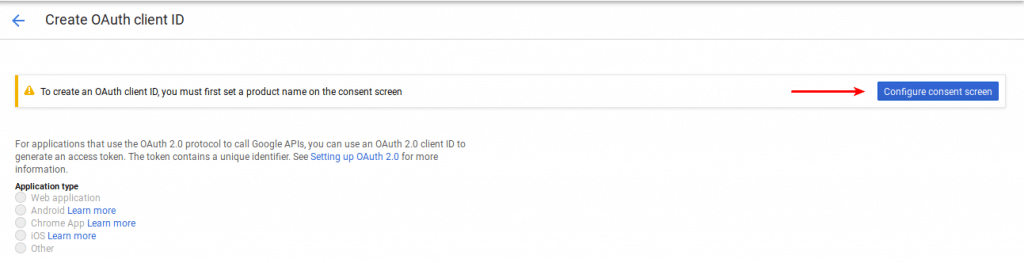
Click on the ‘Credentials’ in the left panel. Select the ‘OAuth client ID’ option as seen below.
It will prompt you to configure the consent screen. Click on ‘Configure consent screen’ button
Step 3 – Create OAuth consent screen
Fill up the form and add the scopes based on the requirement. Here we need to access the calendar and events. So, select the calendar-related scops only. See it in the below screens.

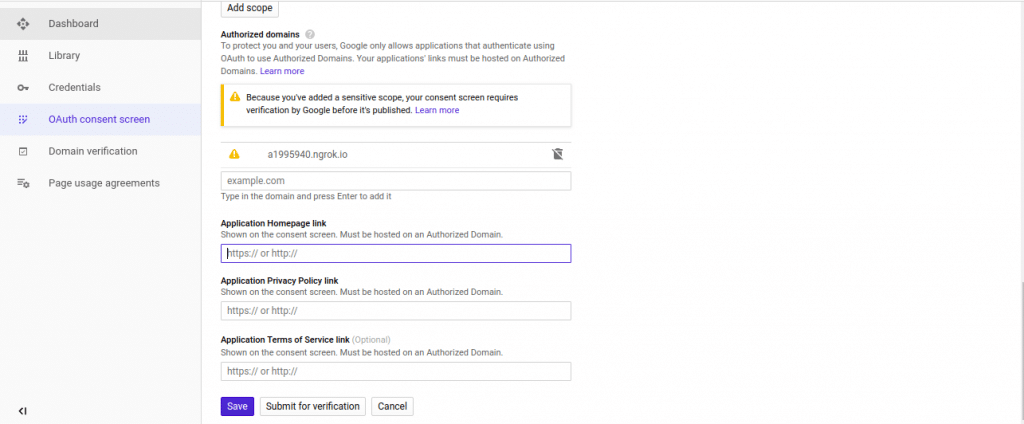
Click on the Save button.
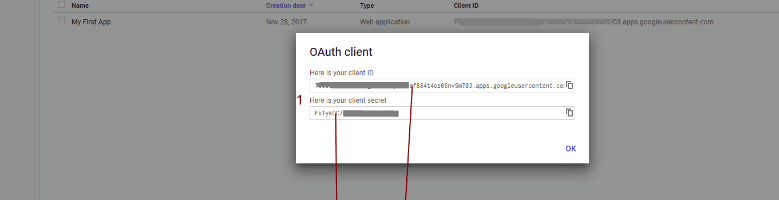
It will generate and display the popup with client id and client secret. Copy and paste it somewhere. We will need it for authentication in our Rails app.
Read Also: Google API Authorization with Ruby using long lasting Refresh Token
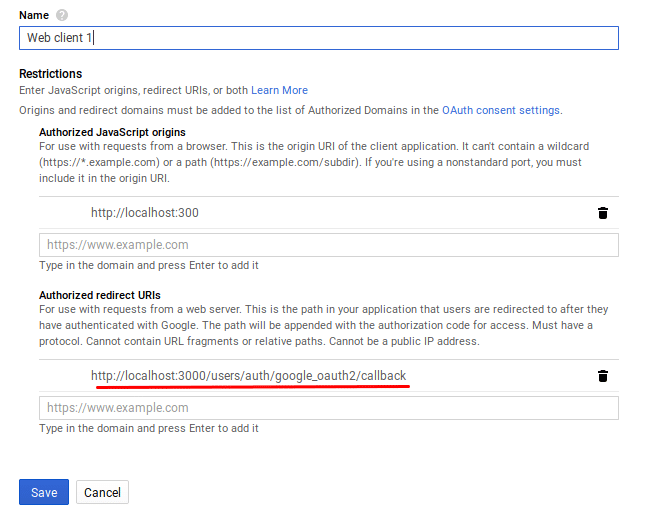
Step – 4 – Configure the Redirect URL (Call back URL)
The redirect URI may change based on your application root url.
- Authorized JavaScript origins: https://YOUR_NAMESPACE
- Authorized redirect URI: https://YOUR_NAMESPACE/users/google_oauth2/callback
This completes configuration at Google’s end. Now, let’s jump into the Rails app.
Authenticate Users with Devise and Google OmniAuth
Step 1 – Install Gems
Add the following gems in `Gemfile` and `bundle`
# Gemfile
gem ‘devise’
gem ‘omniauth-google-oauth2’
Step 2 – Configure OAuth credentials
Add below code snippet In your config/initializers/devise.rb file and replace project `client_id` and `client_secret` as you collected above from Google Account. Don’t forget to add the scope – `userinfo.email, calendar`.
config.omniauth :google_oauth2, ENV['GOOGLE_CLIENT_ID'], ENV['GOOGLE_CLIENT_SECRET'],
{
access_type: "offline",
prompt: "consent",
select_account: true,
scope: 'userinfo.email, calendar'
}
There are a couple of important things to note here:
In order for Google to send us back not only an access token but a refresh token, we need to specify a few options:
prompt: "consent"access_type: "offline"
We also need to include a calendar in the scope, so that we can interact with the Google Calendar API later on.
Step 3 – Add User Authentication and Callback
First run rails g devise:install, It will prepare your rails app for authentication and adds following routes to the routes.rb.
Rails.application.routes.draw do
devise_for :users
end
But you need to customize the routes for the specific controller which should be used as the callback controller.
Rails.application.routes.draw do
devise_for :users, :controllers => { :omniauth_callbacks => "callbacks" }
End
Steps 4 – Define the callback controller
Your callback controller needs to inherit from the `Devise::OmniauthCallbacksController`. Take a look
User Model
Step 5 – Add “Sign In with Google” Link
Use the following snippet to add Sign In with Google link which will take the user to google for authentication
`<%= link_to “Sign in with Google”, user_google_oauth2_omniauth_authorize_path %>`
Step 6 – Add additional columns to store tokens
Add below columns to the User to store the authentication details to check the logged in user and use these tokens for the API calls.
Step 7 – Add the Google API Ruby Client gem
Now, it’s time for the final steps to create a new calendar event using Google API Ruby Client with the Google Calendar API. Add ‘google-api-client to Gemfile and ‘bundle install’
gem ‘google-api-client’, require: ‘google/apis/calendar_v3’
Step 8 – Add ‘Task’ model
Create a `Task` model to save all events locally as well and it’s migration with below columns. The migration should look like
Run `rake db:migrate` to create a table
Step 9 – Configure routes
Add following to create RESTful routes Task resource
`resources :tasks`
Step 10 – Handle calendar event creation in Controller
Here is a working controller code to add an event to the Google calendar with API by passing the event hash.
Start the rails server if not running
Step 10 – Sign in to get access codes
Go to that page where you added the Sign In with Google (Step 5) link and click it. If everything is configured correctly you should see the Google consent screen requesting access to create an event in the calendar.
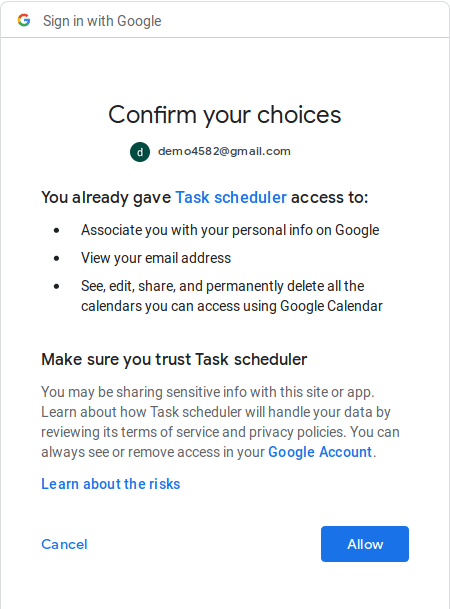
If you allow access then you’ll be redirected back to the callback action with a temporary authorization code and update the latest `access_token` and `refresh_token`. Check the controller code to see where exactly the codes are required
Step 11 – Render `new` event View
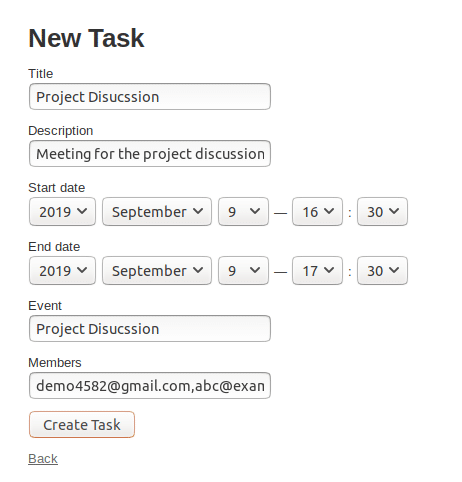
Here is the `new.html.erb` view file to render a form to create a new event. Put it under views/tasks`
You should see below form when you access it `http://<host>:<port>/task/new` in browser
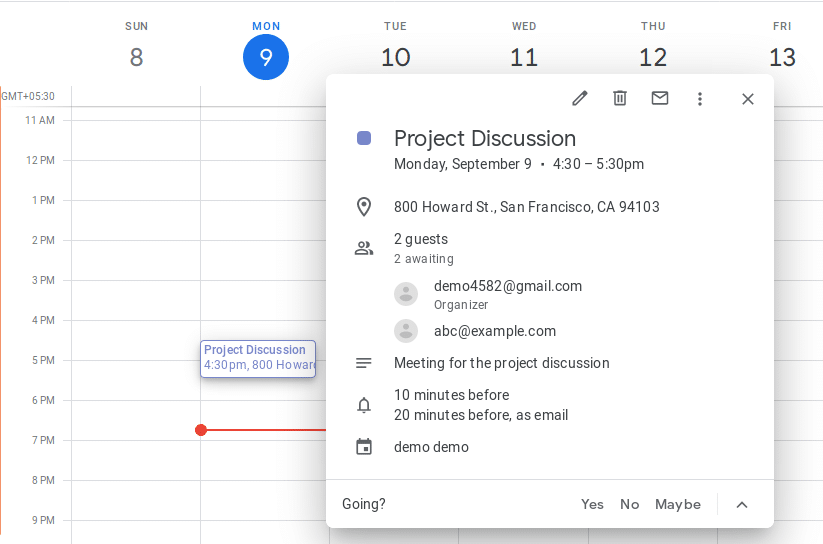
Once you click on the Create Task button, the new calendar event would be created in your Google calendar. Like this.
You should see above event created in Google Calendar like
That’s it. Hope this helped you to learn about Google API integration.
Thanks for reading!
Consulting is free – let us help you grow!
