Two Factor Authentication using Devise gem in Rails 6 Application
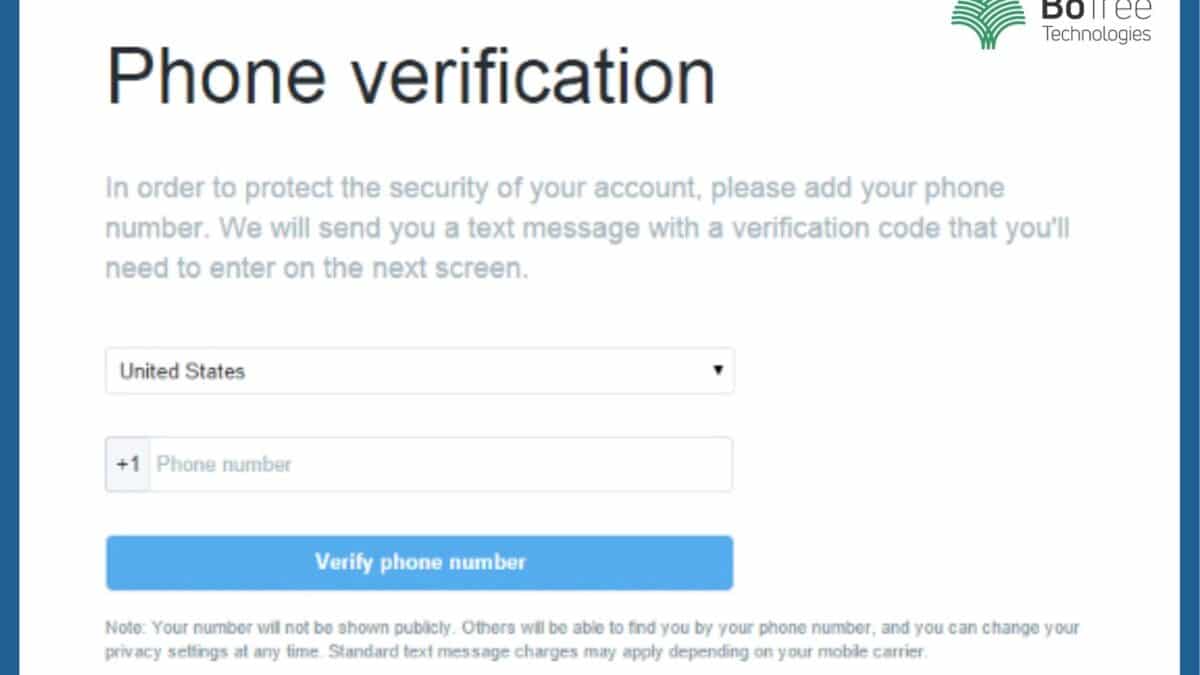
Logging in into an application becomes convenient with a mobile number. You just have to enter your mobile number, get an OTP and there you go – you are logged in.
Mobile-based login reduces the hassle of remembering the password for your account in the application. It is also a secure method as someone can steal your password and access your account.
Your mobile number is with you and only you will receive the OTP for logging in. This feature is also available in a Rails application with the help of a simple gem.
Ruby on Rails App: Devise gem Integration
Devise login:
Devise is a flexible authentication solution for Rails development based on Warden.
Generally, devise uses email and password for login, but there may arise a situation where you want to login using a mobile number and password.
Here’s how to implement devise in such a situation.
You can hire Ruby on Rails developers to add the devise two factor authentication feature.
Also Read: A Complete Guide to Hiring Ruby on Rails Developers in 2021
How to login using a mobile number in a Rails Application with devise?
Login using the actual attribute
Devise allows you to login using email and password, a kind of two-factor authentication (2FA) in a Rails application.
There may arise a situation to login using a mobile number or username rather than an email address.
There are 2 ways in which we can use Devise with two-factor authentication using actual attributes to login to the application. Here is the devise set up and working for both the methods.
1.Having one devise model in the application.
- Add the below code snippet to devise.rb file.
config.authentication_keys = [:mobile_no]
2. Having multiple devise models in the application.
- Add the below code snippet to devise_model.rb.
devise: authentication_keys: [:mobile_no]
Note: Also make the required changes in devise views.
Add the below code snippet to devise_model.rb, skip the devise two-factor-gem email validation:
Simple!! Right. Now you can log in to the application using a mobile number instead of email – all because of the Rails two-factor authentication feature.

Login using virtual attribute:
There may arise a situation where we want to log in to the application using email or username both attributes to login to the application with Rails devise-two-factor authentication.
Note: Here, we are going to log in using username or email, you can change the attribute as per your requirement.
Steps to follow:
1. Add the username field to users table using migration as shown below:
rails g migration AddUsernameToUser username
2. Add strong parameters (username, email, password, password confirmation and remember me) to configure_permitted_parameters as shown below:
3. Create a login virtual attribute in the devise model.
Add login as an attribute accessor in devise modelattr_accessor :login
def login

@login || self.username || self.email

end
4. Add authentication_keys to devise model as shown above(log in using the actual attribute).
5. Override the warden conditions in devise_model.rb.
Hold ON!!!, You need to change the name for email to login attribute in HTML views as shown below in sessions/new.html.erb:
<%= f.label :login %><br /><%= f.text_field :login, autofocus: true, autocomplete: "Username" %>
Now, you can try to login using email/username and password in the application.
Hurray!! It’s done.
How to send, verify, and retry OTP?
What is OTP?
OTP stands for One-Time-Password. An automatically generated numeric or alphanumeric string of characters used for user authentication. Rails devise-OTP authentication is a feature that can help with that.
In one of the recent Ruby on Rails projects, we required a functionality where a user can log in using a mobile number and password with the OTP verification.
The OTP functionality was handled using the send_otp gem, which allows you to send, verify and retry sending the previous OTP.
How to use send_otp gem in rails project?
Step 1: Add the send_otp gem to the Gemfile.
gem 'send_otp'
Step 2: Install all the dependencies.
bundle install
Step 3: Create an account on MSG91 and get the SenderID, Auth_Key.
Step 4: Create a service for implementing the OTP functionality as shown here.
Note: The code is written on the basis of the service created previously in step 4.
Step 5: Send OTP to a mobile number.
The below code snippet will send OTP to the phone_no you entered via SMS with the SENDER_ID you configured on the MSG91 platform.
Otp.new(phone_no).create
Step 6: Verify OTP.
This call of the service will verify the OTP sent on the phone_no you passed as a parameter in this service. This will return either true or false for OTP verification.
Otp.new(phone_no).verify
Step 7: Retry sending OTP.
Due to some technical reasons, the OTP may not be received to the phone number you entered, in that case, you can retry sending the OTP. Use the following code snippet for the same.
Otp.new(phone_no).retry
Note: Set retry_voice false if you want to retry OTP via text, the default value is true.
For more detailed usage visit the gem.
Amazing Facts:
You can retry sending OTP for a maximum of 2 attempts.
Keep Reading: Password Protected Zip Using Ruby on Rails
Conclusion
Integrating the devise RubyGem in your Ruby on Rails application is an easy task. While not every Ruby on Rails project calls for mobile login, it would come in handy if you want a more secure login feature.
A Ruby on Rails consulting company can help to integrate Rails devise-OTP authenticaltion and two-factor-authentication feature in your app.
Consulting is free – let us help you grow!


